Loading...
Log on to your AWS Lambda Console and Navigate to Lambda and click on the Create function button on the right.
Follow the step below to create a function and upload your code
- Choose
Author from scratchoption from the tab. - Enter a
Function nameand choose your favouriteRuntime. Leave all things default for now. - Click
Create functionto create a lambda function.
Wait till your function is ready.
Example - Save Email Subscription
Follow the same steps as above and create a function called saveSubscriptionNodeJS and choose nodeJs 14.x as runtime. You will see a picture like below.
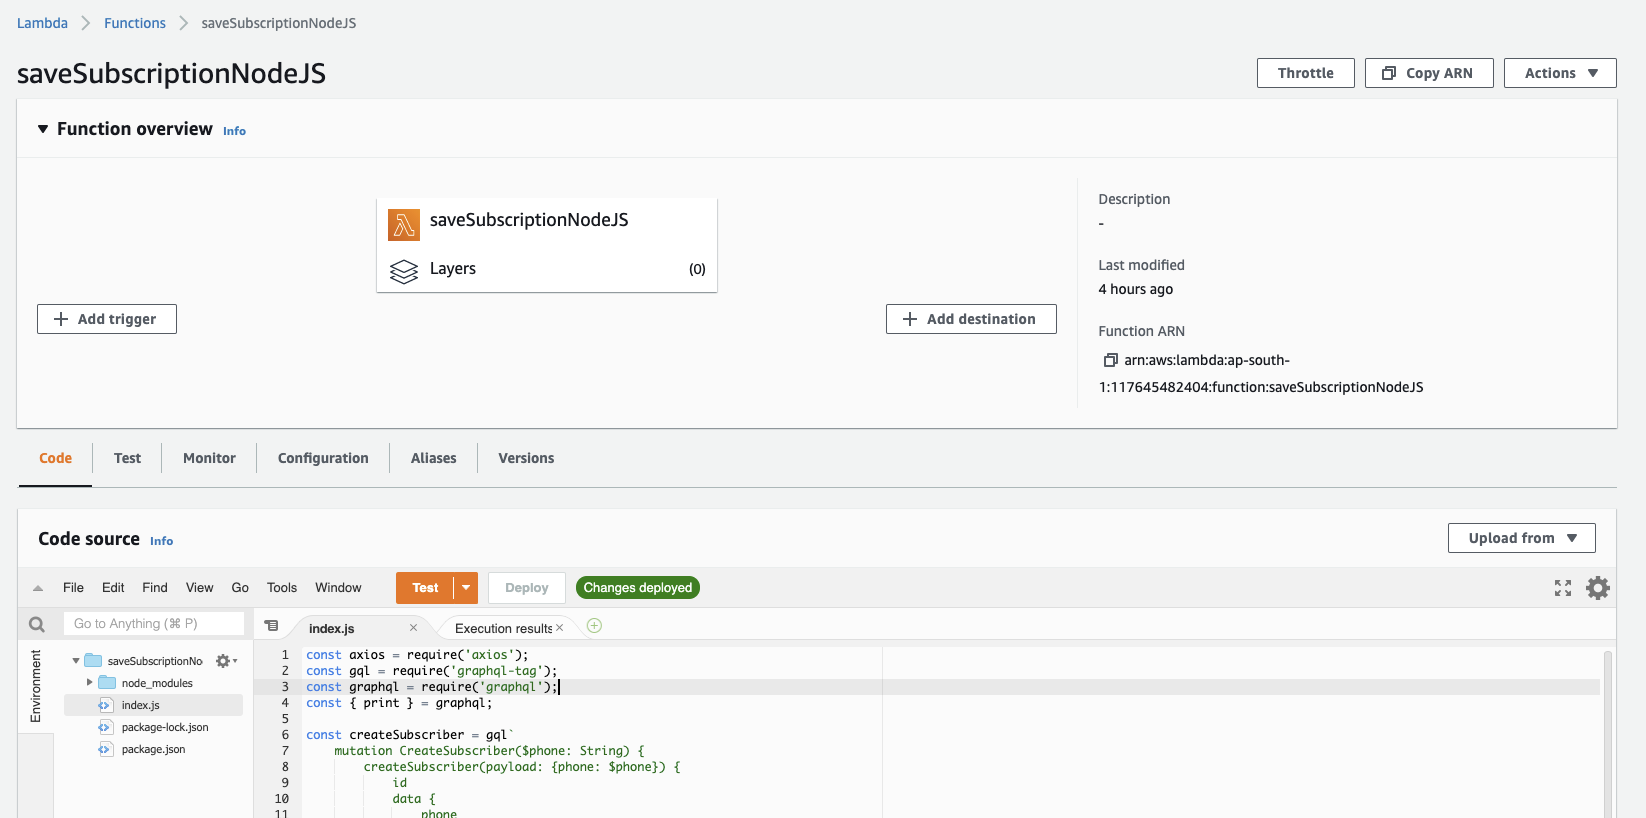
Write your AWS Lambda Function
Paste the following code into the code section of your editor that you can see in your AWS IDE for Lambda
const axios = require('axios');
const gql = require('graphql-tag');
const graphql = require('graphql');
const { print } = graphql;

const createSubscriber = gql`
    mutation CreateSubscriber($phone: String) {
        createSubscriber(payload: {phone: $phone}) {
            id
            data {
                phone
            }
        }
    }`

exports.handler = async (event, context, callback) => {
    try {
        console.log(event);
        let incomingRequest = event.payload;
        const phone = incomingRequest.phone;
        if (phone == null || phone == "") {
            console.log('phone number not found');
            return {
                statusCode: 400,
                errorMessage: "Phone Number Not Found In the Request"
            }
        }
        const graphqlData = await axios({
            url: process.env.APITO_URL,
            method: 'post',
            headers: {
                'Authorization': `Bearer ${process.env.APITO_TOKEN}`
            },
            data: {
                query: print(createSubscriber),
                variables: {
                    phone: phone
                }
            }
        });
        return {
            subscriber: graphqlData.data.data.createSubscriber
        }

    } catch (err) {
        console.log('error posting to appsync: ', err);
        return {
            statusCode: 400,
            errorMessage: err
        }
    }
};
In the code above, we are checking if the phone number is provided or not ( You can add phone number validation if you want) and then using a graphql client we are storing the
phone number into our own model called subscriber
Publishing AWS Lambda Function
Each time you make any changes Click Deploy button to save and apply your changes.