Building a Todo App with Apito
Apito is a powerful Headless CMS on Cloud which helps you build API easily. You can think of it as a wordpress alternative. This guide will show you how you can use Apito to build API for your next project or application.
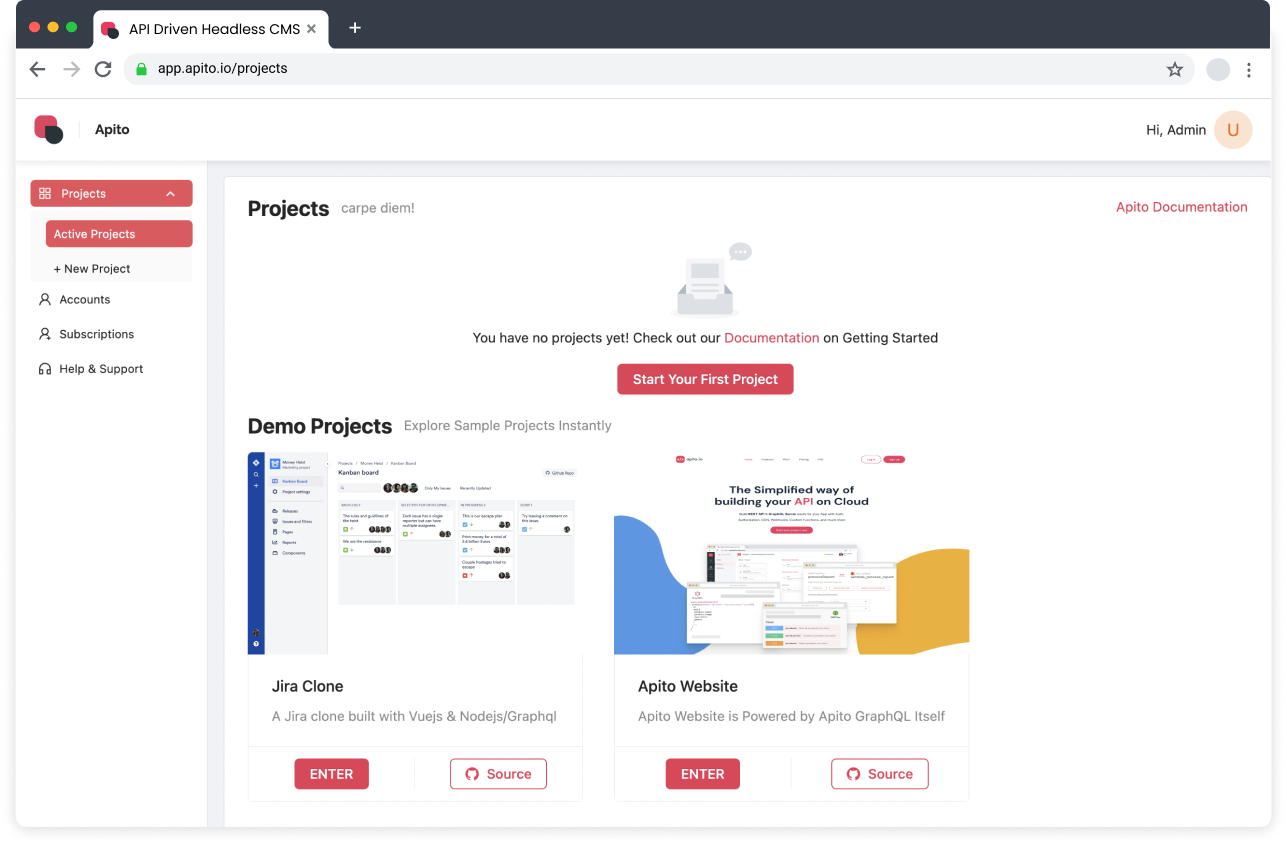
1. Create your project ( Todo )
Once you logged in to Apito Console you will a Project Space like below. You can use this space to switch between your projects or create a new one.
Click on the Start a new Project button to initialize your project creation.
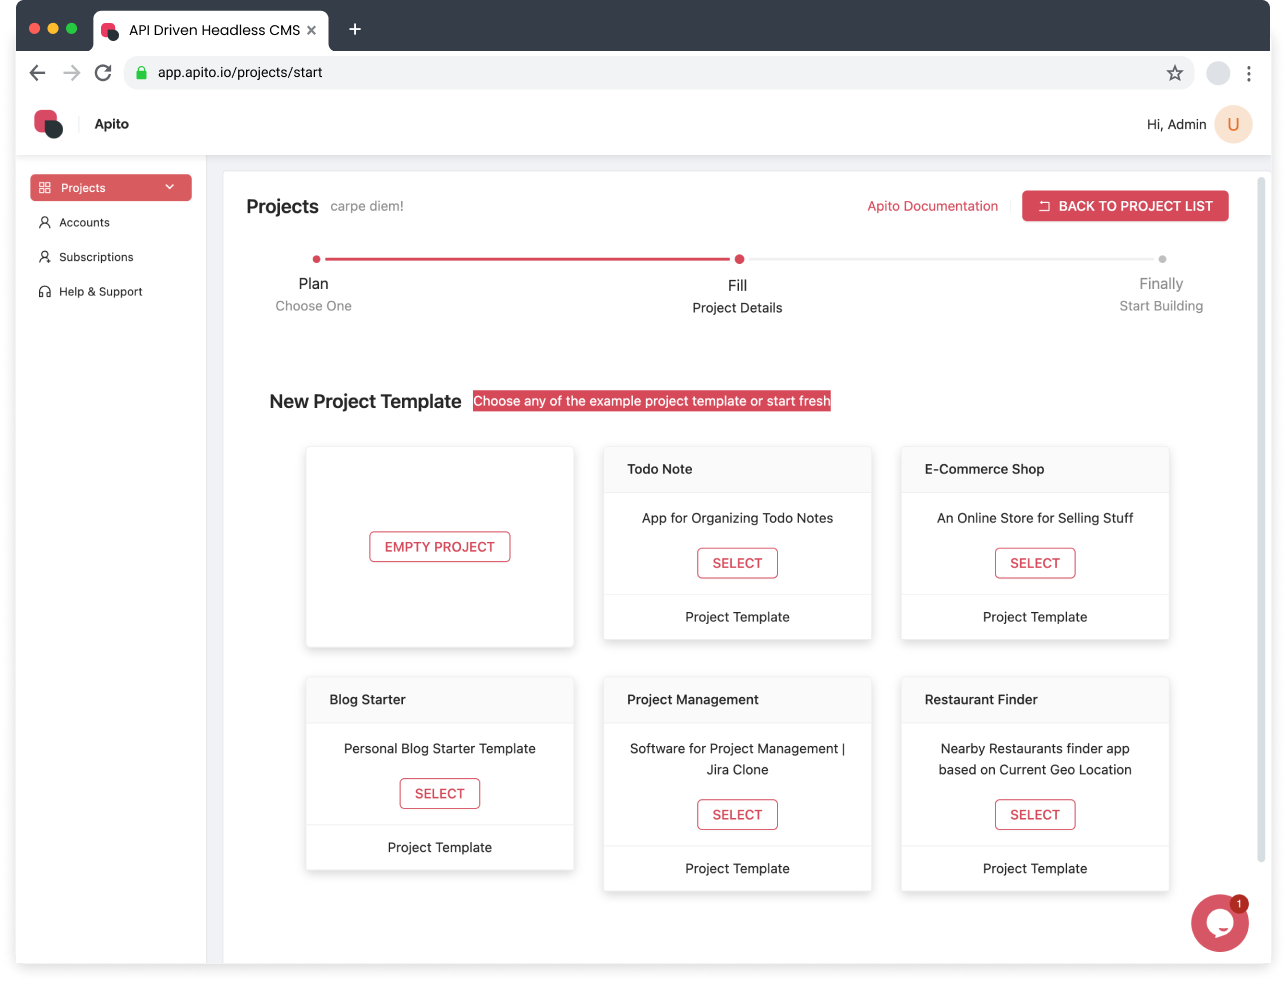
Using a Project Template
You can jump start your project with a project template. Data and models will be prefilled on those templates based on your selection.
You can also start fresh by selecting an EMPTY PROJECT. But for this project we will select a project tempalte called Todo Note
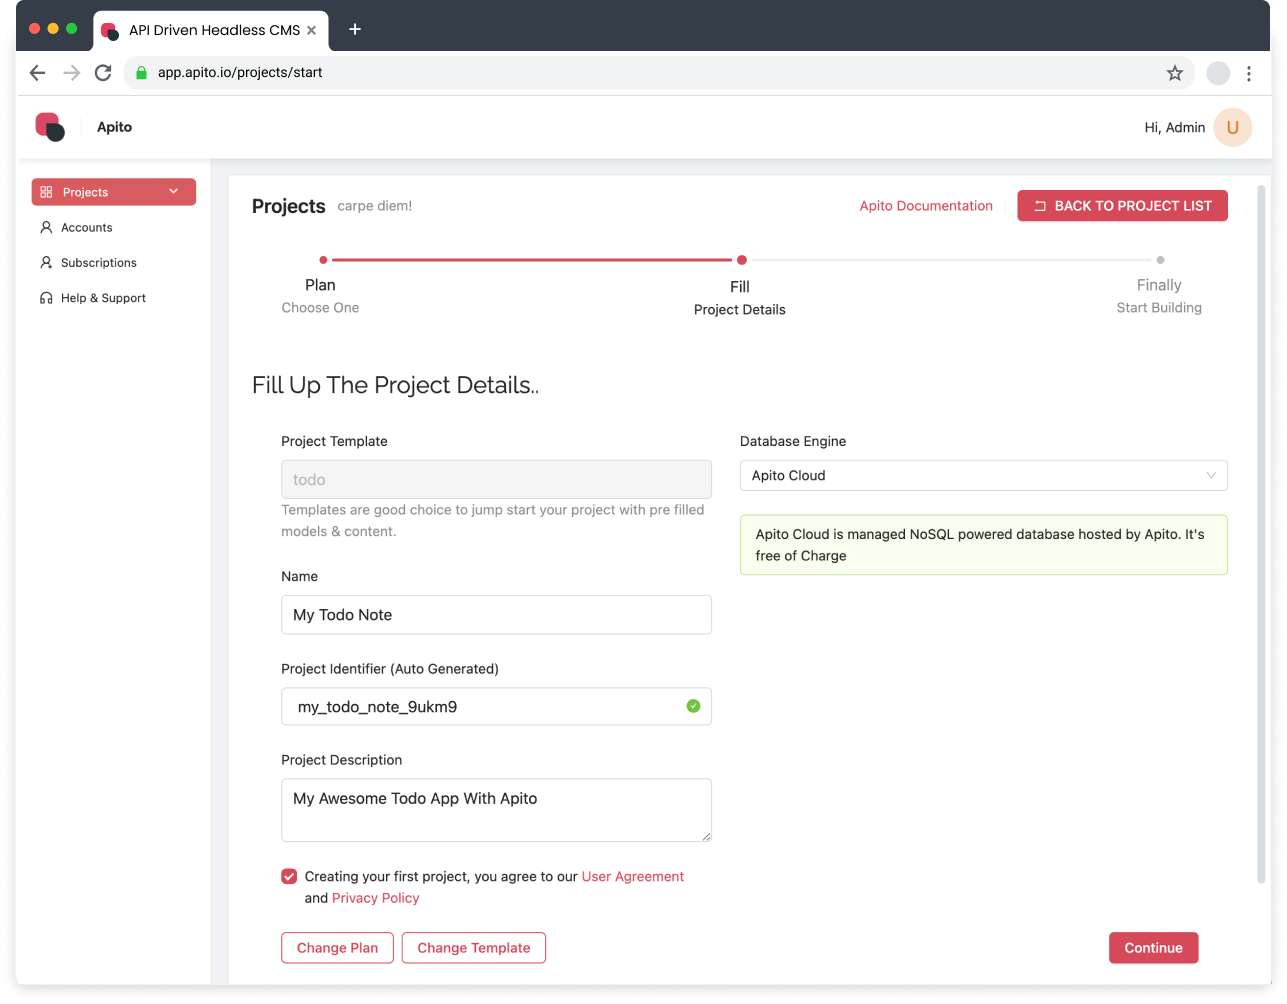
Fill Up Your Project Details
In this step, Enter your Project Name and description and click and On Database option select Apito Cloud option to create your project faster.
Apito Cloud is a managed database and free of charge. If you select other options, then you have to provide your own credentials.
Congratulation! your project is being build. Once it’s done you can click
Explore new project to switch to your newly created project and start building your API instantly.
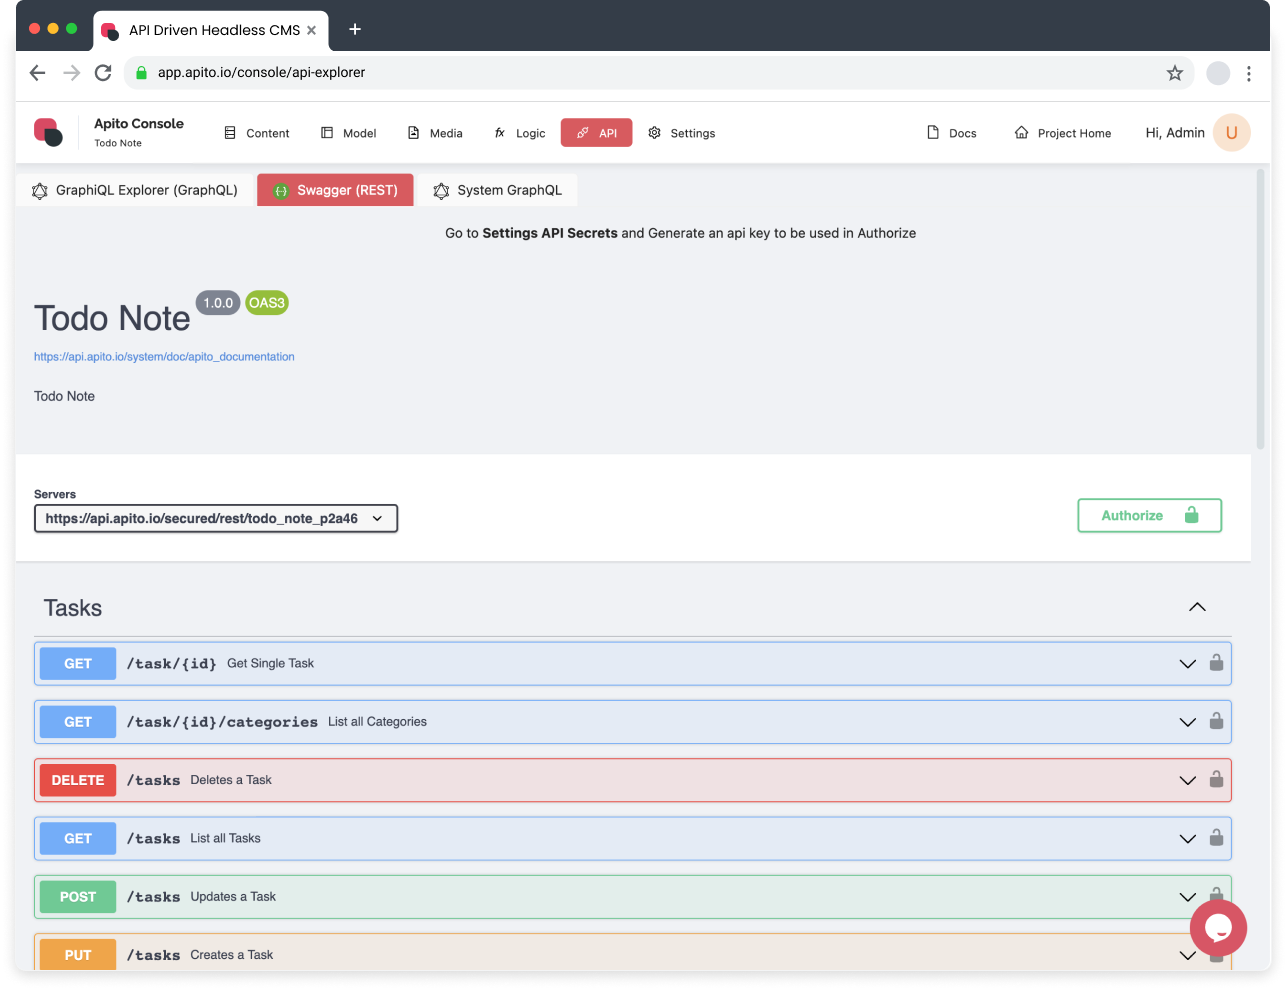
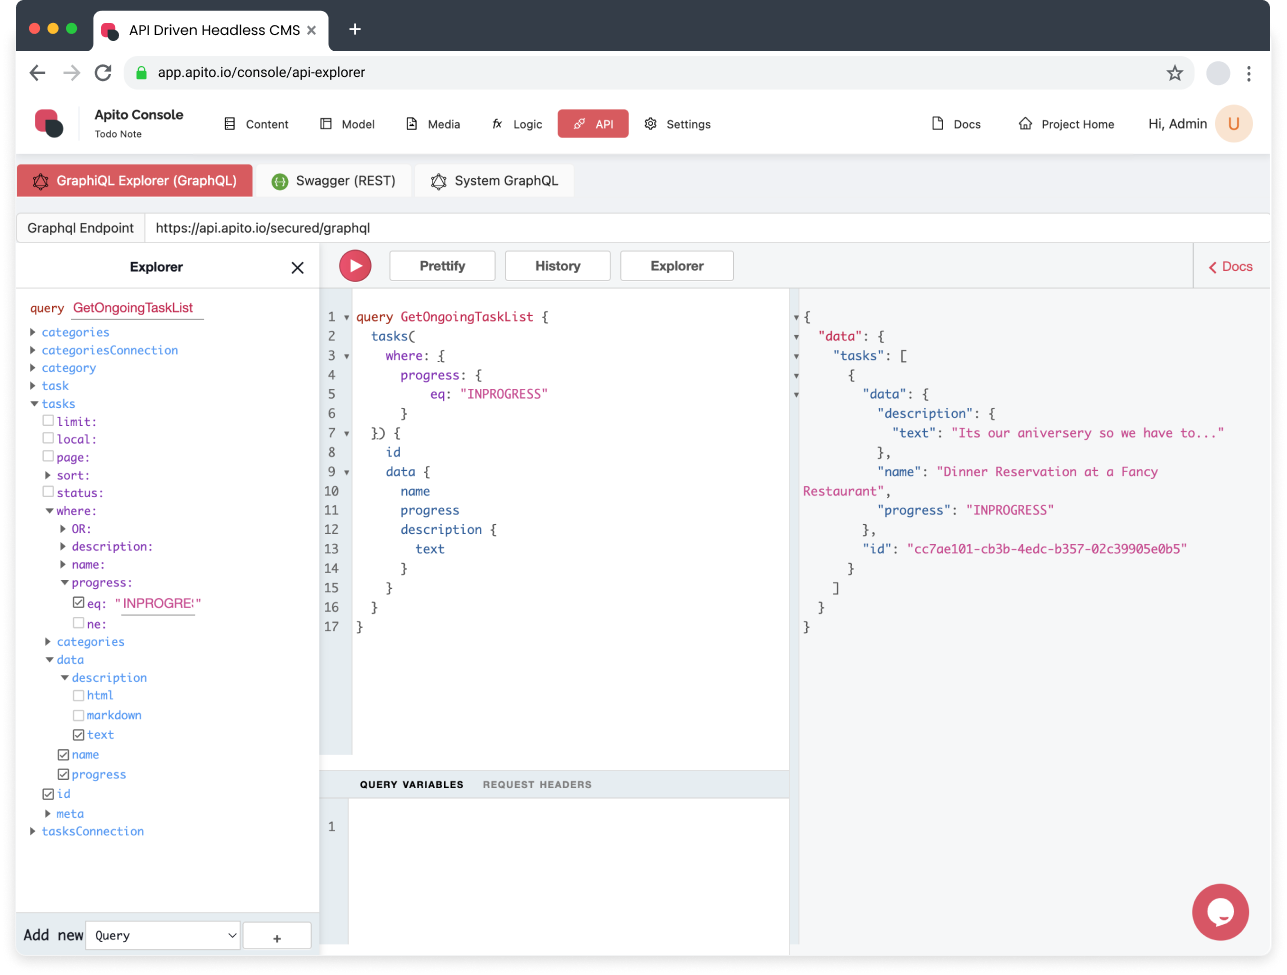
2. Explore Both GraphQL & REST API
Our Application API is ready. To explore our API lets goto the API from the top of the navigation menu.
You will be able to see two tabs
- GraphiQL Explorer
- Swagger (REST)
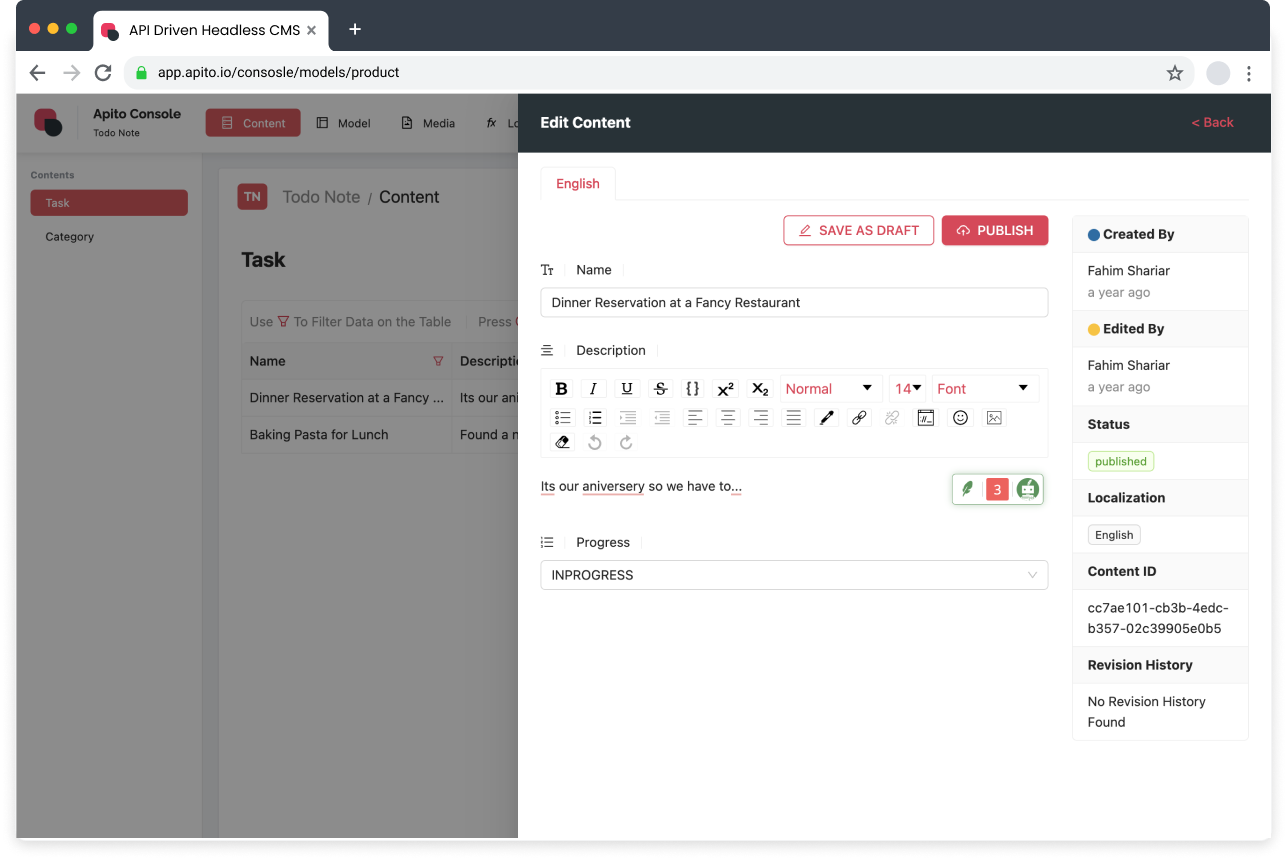
Let’s run our first query. We will now Find all the task with 'INPROGRESS' status. Now click Run and as you can see its filtering the result
form the content. Now your is ready for integration.
You can also use REST API if you project requires it. Apito Generates a Swagger Documentation which is compatible with OpenAPI.